Product Attributes
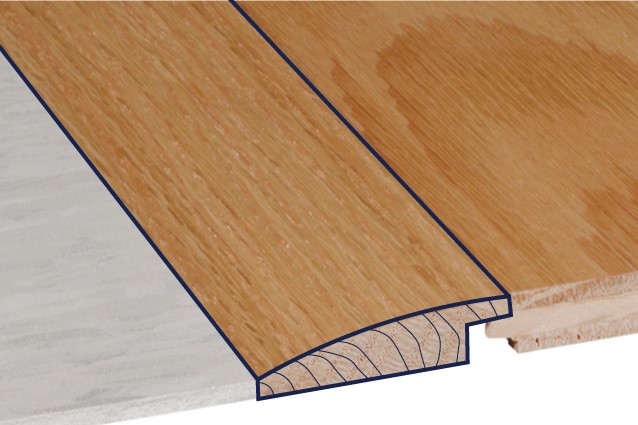
Equalizes the level between two different height flooring surfaces
Used around fireplaces, doorways, as a room divider or as a transition between wood flooring and adjacent floor coverings that are lower than the surface of the floor. Fasten down with adhesive, double-faced tape or small finish nails. Pre-drill holes if nailing to prevent splitting.
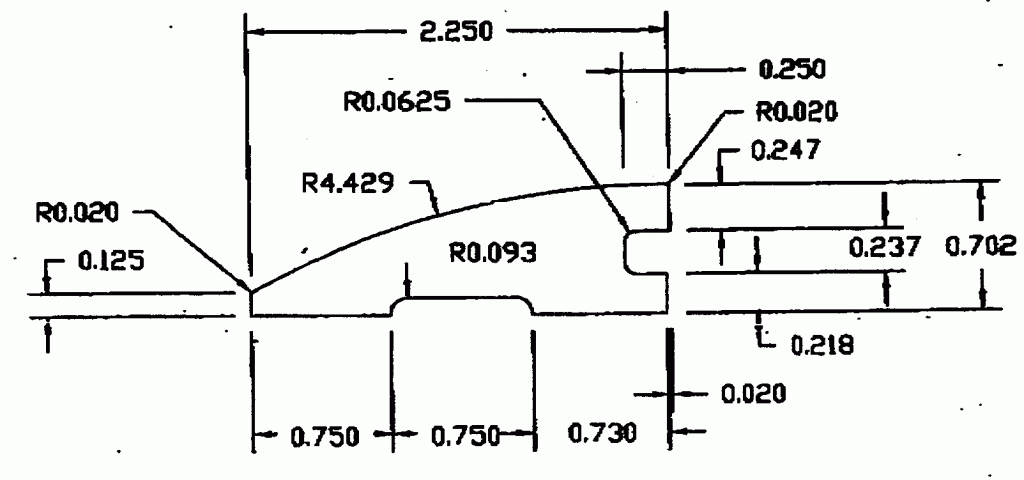
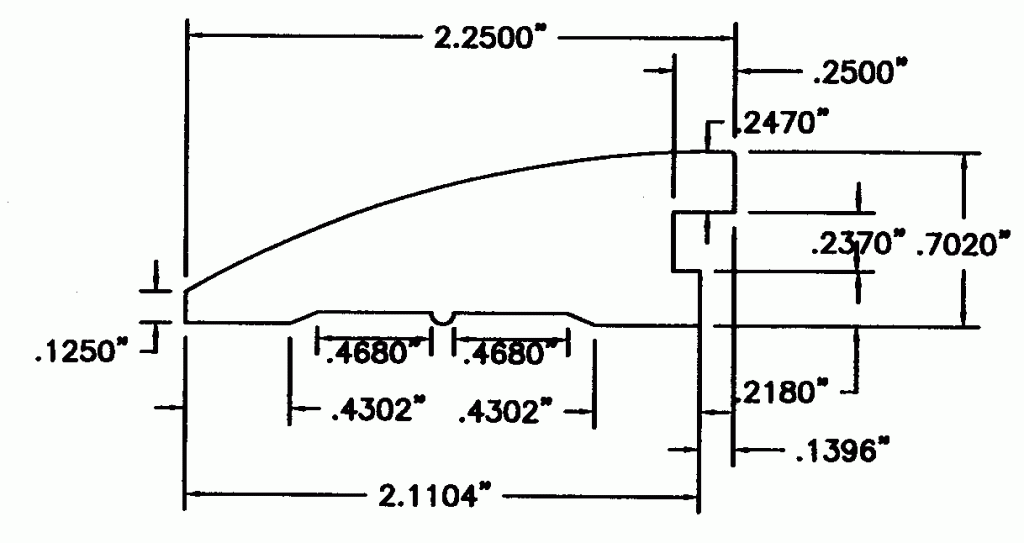
Flush-fit reducers are milled to individual product thicknesses to engage using a full or partial tongue & groove assembly and make a smooth transition between the top of the flooring and molding; used for glue- or nail-down installations.
Installation Procedures
Installation of Flush Fit Reducer
- Screw or nail a temporary wood block, 1/2″ wide and a minimum of a 1/2″ in height, to the subfloor, wherever you plan to install a Flush Reducer. The wood block should be placed directly against the edge of the floor to which you are transitioning.
- Install the entire floor.
- Remove the wood block.
- Lay the Reducer in place.
- Attach Reducer to the substrate with nails (6d finish nails) or construction adhesive and a bead of recommended wood glue to the front edge of the Reducer.*
- Always predrill the Reducer pieces with the appropriate size drill bit to avoid cracking or splitting.
* When installing over radiant heated subfloors, use only construction adhesive to attach Reducer pieces to the substrate.
NOTE: Due to height differences when transitioning hardwood flooring to existing flooring or vertical surfaces, it may be necessary to rip saw or shim Reducer pieces to achieve desired height.
Product Images
Length:78″
Current Version

Length: 78″
Old Version (Discontinued)
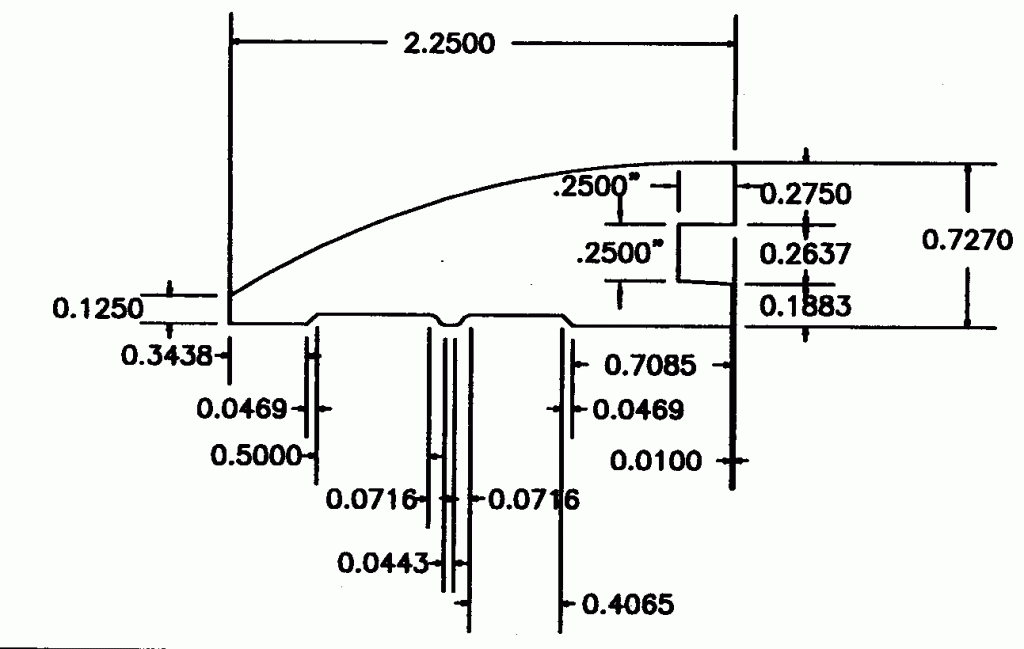
3/4″ Reducer – Valenza
Length: 78″
(discontinued)
3/4″ Reducer – Liberty Plains
Length: 78″
(Discontinued)