
Product Features
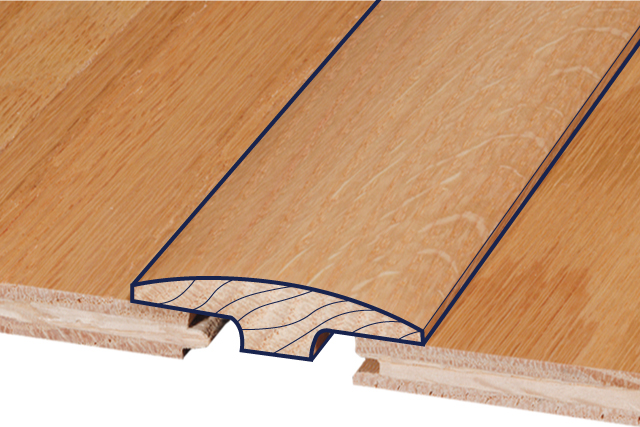
Covers the expansion space between two equal height flooring surfaces.
Used at doorways and transitions to another surface of approximate the same height to allow for expansion space. Also may be referred to as a “saddle” molding.
Installation Procedures
Installation of T-Molding
- Screw or nail a temporary spacer block, 1/2″ wide and a minimum of a 1/2″ in height, to the subfloor.
- Add an additional spacer, cut to the width of the required expansion zone, to installation side of the spacer block.
- Install the hardwood up to the expansion zone spacer.
- Leave spacer block and expansion zone spacers in place and complete the entire hardwood floor installation.
- Remove Spacers.
- Attach T-Molding pieces with nails (6d finish nails) or construction adhesive.*
- Always predrill the T-Molding pieces with the appropriate size drill bit to avoid cracking or splitting the T-Molding pieces.
- To allow the hardwood flooring to expand and contract freely, never fasten the T-Molding pieces to hardwood flooring.
* When installing over radiant heated subfloors always use construction adhesive to attach molding pieces to the substrate.
NOTE: Due to height differences when transitioning hardwood flooring to existing flooring or vertical surfaces, it may be necessary to rip saw or shim transition pieces to achieve desired height.
Product Images
Length: 78″
Current Version
Length = 78″
Old Version (Discontinued)
