Seam cutting is one of the most important aspects of flooring installation. It is relatively easy to repair miscuts when fitting most materials, but is almost impossible to repair a miscut on a seam and make it look like a well-cut seam.
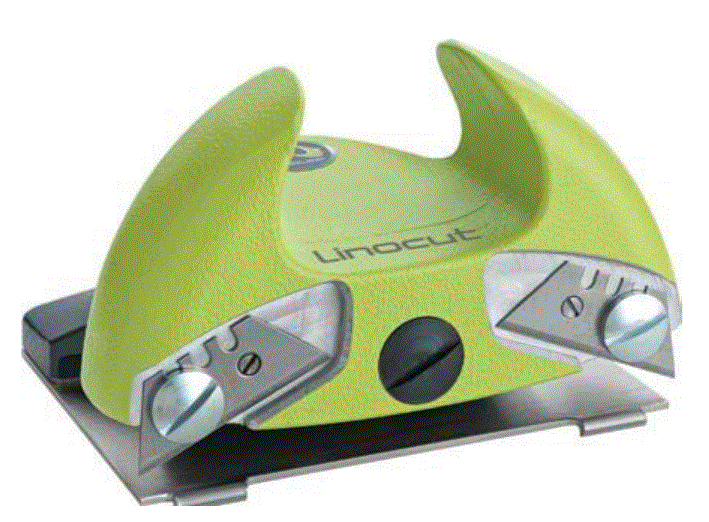
There are three ways to cut seams: double-cut and recess scribe (sometimes referred to as underscribe), and Linocut Seam Cutter.
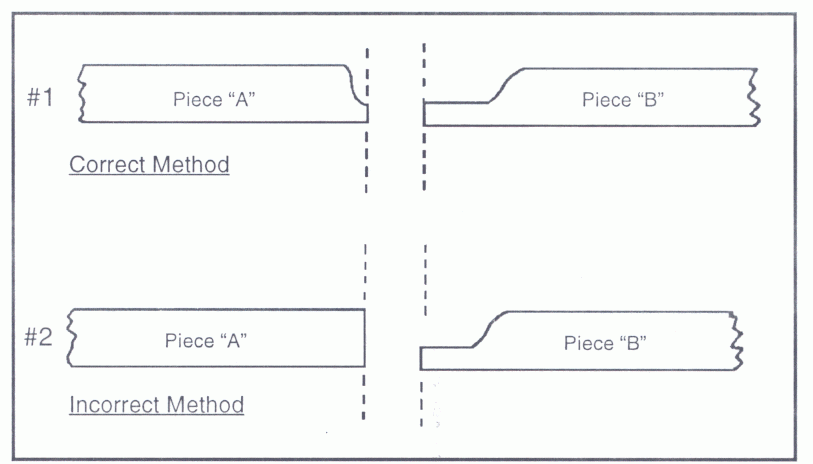
Cut both pieces of material at seam edges, allowing enough of the pattern on each piece to maintain the proper size grout line at the seam. Cross section #1 shows the proper placement of a seam in material with an embossed grout line. Cross section #2 shows the incorrect placement (Fig.1).
Method 1: Double Cut Seams
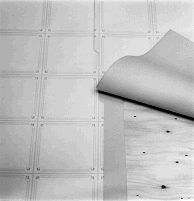
Double-cut seams are generally used on heterogeneous products and felt-backed rotovinyl materials. These are materials which can be cut through two thickness in one cut. Install the first piece and bring the second piece into place in the room. It is best if the first piece has adhesive spread under the half along the wall to keep it in place. The seams will be cut dry (without adhesive under them), so the area approximately one or two feet back from the seams will not be spread with adhesive. The second piece is overlapped to the first piece at the factory edge. If you are installing patterned goods, the overlap must be the correct amount so the pattern will match (Fig. 2). Now secure the second piece by spreading adhesive under the half along the wall.
Place a 2″ or 3″ wide piece of scrap under the seam area before the seam is cut. This will save the point of the knife when you cut through the two pieces of material and it will also produce a slight fullness to the seam. This is important because when the two edges are pulled back to finish spreading adhesive under the seam, the face can be compressed, causing the edges to be slightly apart when placed back into the adhesive. After the scrap is in place, put the straightedge in place at the area where you want to cut the seam and cut through both pieces in one cut. Hold the knife straight up and down. If you are right handed, the scrap piece you are cutting off the top should be on your right hand side. After the adhesive is spread, roll the seam into place. After hand rolling seams into place, roll again with a 100-lb. roller. Apply appropriate seam treatments as recommended for the product being installed.
Method 2: Recess Scribe or Underscribe Seams
This method is recommended for heavier materials which are not easy to cut through in one cut. Recess scribing is the easiest way to cut seams if the installer can cut a good straight edge on the first piece, has set his underscriber correctly, has a sharp knife, and can cut on the score line. After fitting the first piece in the room, it should be straight edged with a sharp knife. Hold the knife straight up and down. Keep the scrap on the same side as the hand you are cutting with. Nonpatterned materials may also be trimmed using an edge trimmer (Fig. 3) or by cutting at least 1/4″ off the factory edge. On patterned material, remove the proper selvage using a straight edge and sharp knife.
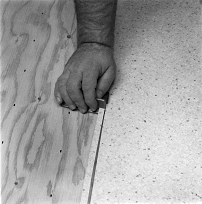
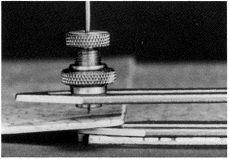
Fit the second piece of material and obtain proper overlap. With the second piece overlapping the first straight edged piece, insert the recess scriber (Fig. 4). If the scriber is set correctly, the knob on the bottom will follow the straight edge piece, and the pin that is set over the back edge of the knob will mark the top piece directly over the straight edge (Fig. 5).
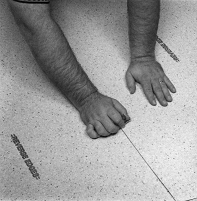
Insert a piece of scrap material face down beneath the scribe mark. Cut the seam using a straight blade knife (Fig. 6). Hold the knife straight up and down. Keep the scrap on the same side as the hand with which you are cutting. These seams must be cut with the adhesive spread beneath them. One advantage of recess scribing is that you have to spread adhesive only one time. The seam must be cut before the adhesive sets up. The seam edges should lie together with no fullness. They should not have to be forced into place.
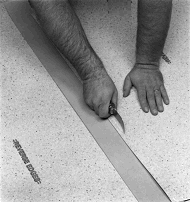
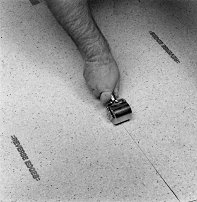
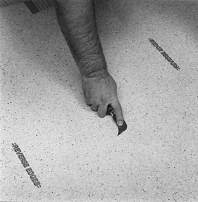
After the seam is rolled into place with the hand roller, remove the burr or rough edge (Fig.7). This burr comes from the recess scriber when the seam is scribed. After the piece is in place, use the back of a knife or linoleum knife to skive off the burr (Fig. 8); or, before putting the second piece of flooring in place, hold a small piece of #320 sandpaper at an angle to the cut edge. Move lightly back and forth to remove the burr. After hand rolling seams in place, roll again with a 100-pound roller.
Method 3: WOLLF Tools Linocut Seam Cutter
This method is recommended for commercial heterogeneous sheet with deep embossing where recess scribing is not practical. After fitting the first piece in the room, it should be straight-edged with a sharp knife. Hold the knife straight up and down. Keep the scrap on the same side as the hand with which you are cutting. Nonpatterned materials may also be trimmed using an edge trimmer (Fig. 4) or by cutting at least 1/4″ off the factory edge. On patterned material, remove the proper selvage using a straightedge and sharp knife.
Fit the second piece of material and obtain proper overlap. With the second piece overlapping the first straight-edged piece, insert the Linocut (Fig. 9). The Linocut will use the bottom piece as a guide and scribe the top piece.
Cut the seam using a hook-blade knife. Hold the knife straight up and down. Keep the scrap on the same side as the hand with which you are cutting. These seams must be cut with the adhesive spread beneath them. The seam must be cut before the adhesive sets up. The seam edges should lay together with no fullness. They should not have to be forced into place. Roll seam with a hand roller and follow up with a 100-lb roller.
